PostgreSQL backups
Your PostgreSQL data. A clear way back.
Understand CalmBackup’s PostgreSQL dump workflow, the tools it needs, and the checks to make before relying on a restore.
Start free trial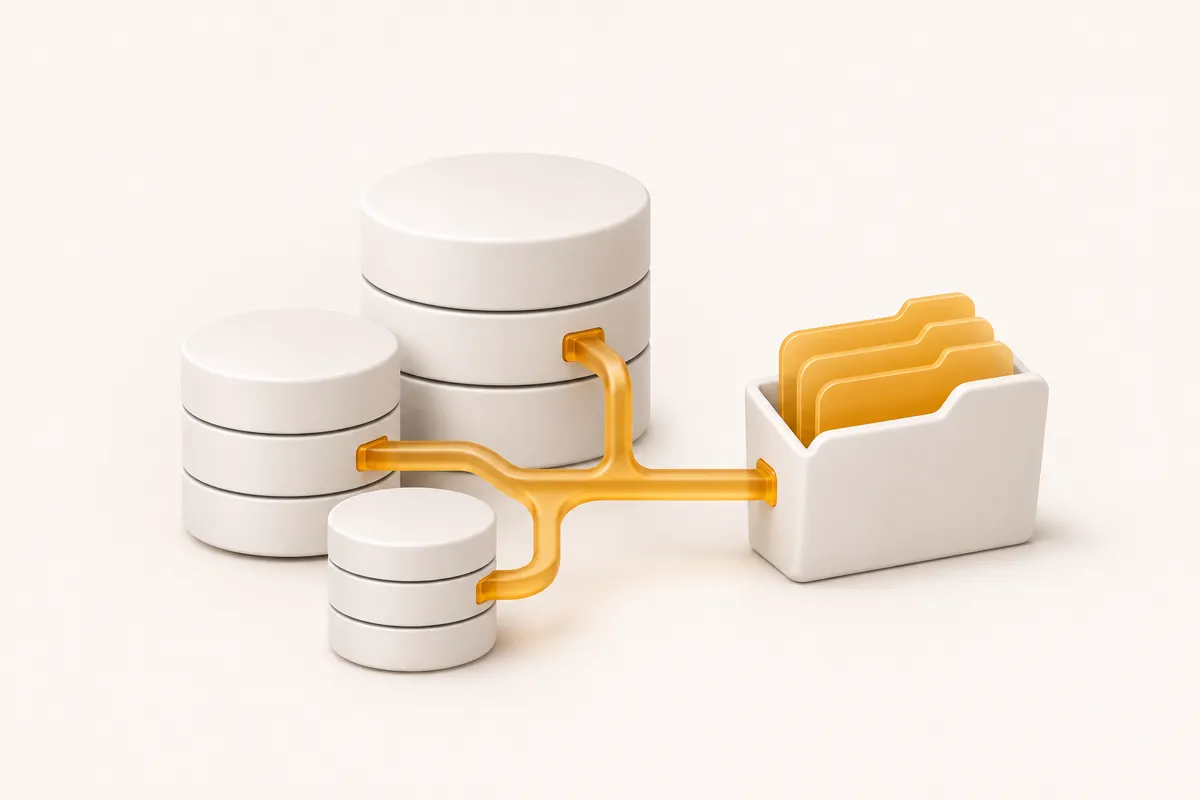
Ask AI about CalmBackup
See what it does, who it’s for, and whether it fits your needs.
Opens with product context and a link to this page.
View or copy the prompt
01 / PostgreSQL backups
Start with the database you actually need.
CalmBackup’s PostgreSQL driver backs up the database named in your configuration. It runs pg_dump in custom format, then packages that dump with any selected directories. This gives you an encrypted archive of a particular database and its supporting files.
Make a short inventory before setup: the database name, connection details, application uploads, database extensions and the people who can authorize recovery. A configuration that points to a development database will happily protect the wrong environment unless you check it.
02 / PostgreSQL backups
Know what the dump includes.
A single-database dump is not a complete PostgreSQL cluster backup. Cluster-wide roles and tablespaces need a separate recovery plan. Document how to recreate the surrounding database environment, including required extensions and application credentials.
Check the version compatibility of pg_dump, the server and the intended restore environment. The official PostgreSQL documentation explains these boundaries in detail.
03 / PostgreSQL backups
A readable dump is the beginning.
The CLI checks the archive with pg_restore --list. That is useful evidence that the dump can be inspected, but it does not run your application against a restored database.
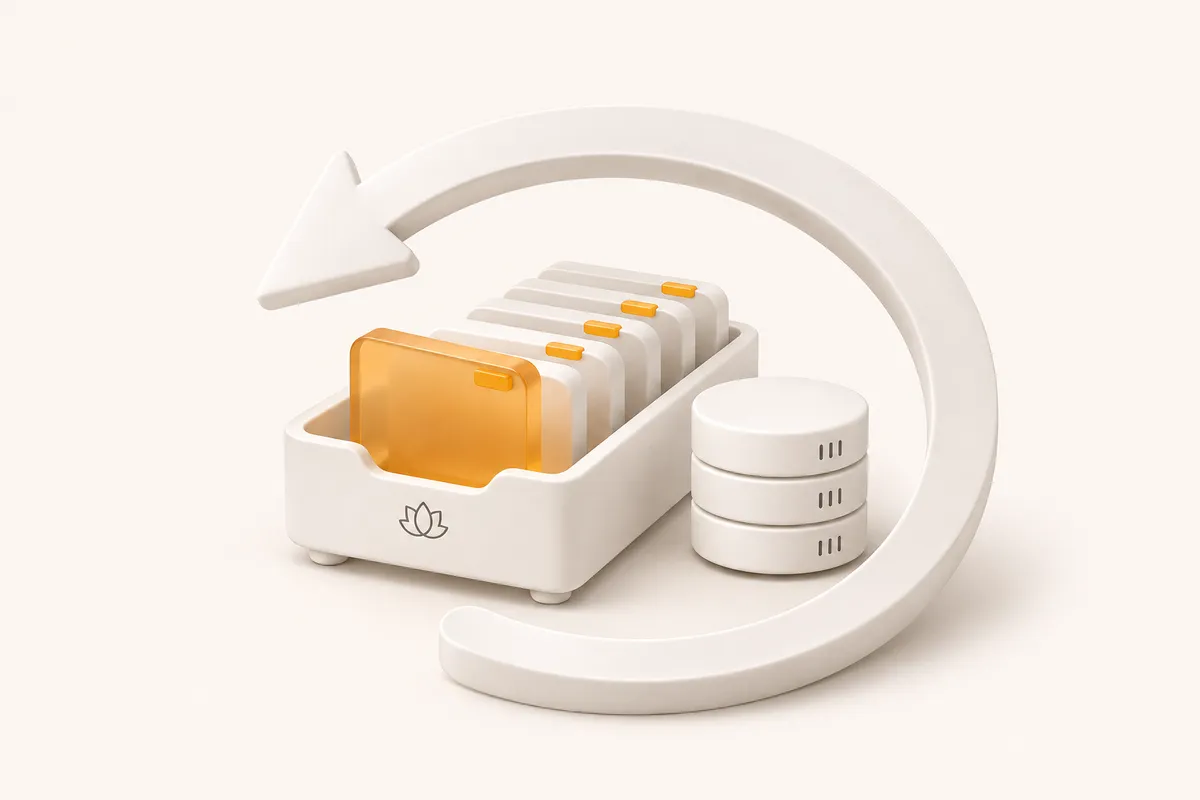
For a rehearsal, prepare a separate destination and use an explicit recovery configuration. The PostgreSQL restore uses clean/if-exists behavior, so review the target before running it. Afterward, check important records, relationships, permissions and the application operations your team depends on.
- 01
Prepare the destination
Install the required PostgreSQL tools and recreate the environment your application needs. Confirm that the destination is isolated from production.
- 02
Restore the selected snapshot
Use the correct archive key and recovery configuration. Record the backup timestamp and any warnings from the import.
- 03
Validate the application
Check representative reads and writes, uploaded files and background jobs in the isolated environment. Record how long the complete exercise takes.
A calmer place to start
Your next backup.
Your first recovery rehearsal.
Connect a source, keep your encryption key safe, and try a restore. Make the whole routine familiar before you need it.
Start your 14-day trial